Get started  
Login  

Help Center

Community / Forum Ask Zappter Support We build your app Marketplace

Documentation

English

General

Videos

Mastering the content editor Pixel perfect design Setup your E-Commerce Store Configure your booking engine Event-System / Drop-In

Popular

App Store Submission Creating Push Notifications Typography Changing template Changing Rules

Business Modules

New

More Tutorials

Documentation

Mail Groups & Accounts

Managing mail groups and accounts

E-Mail groups and accounts

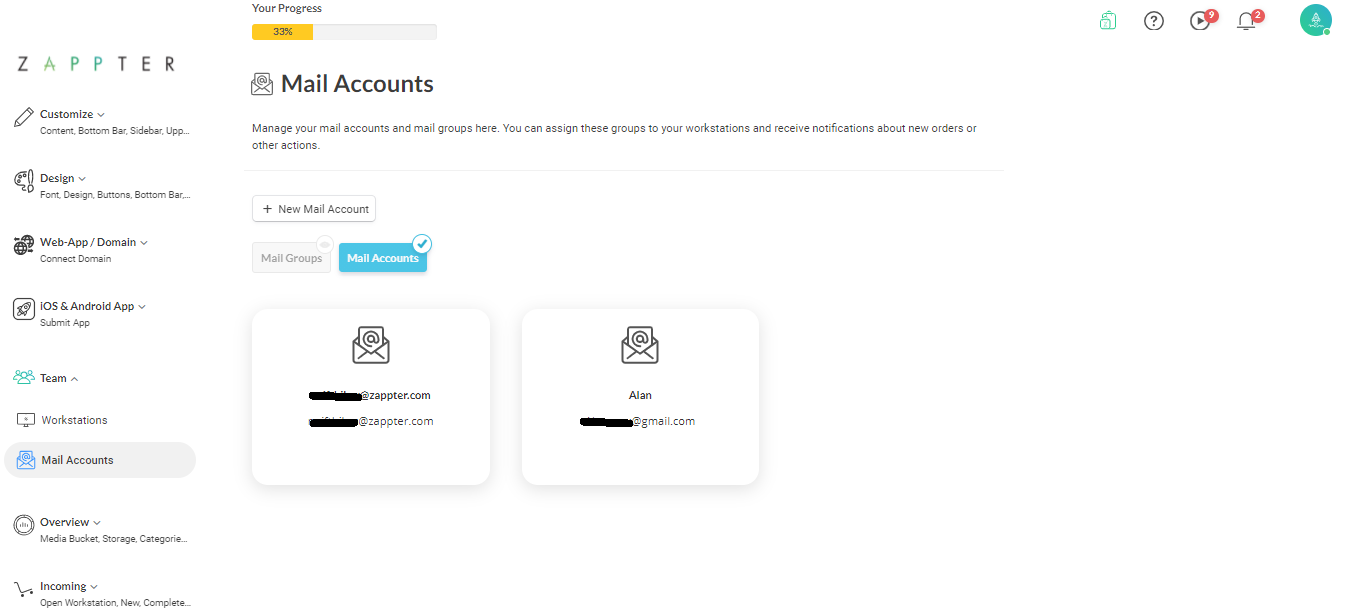
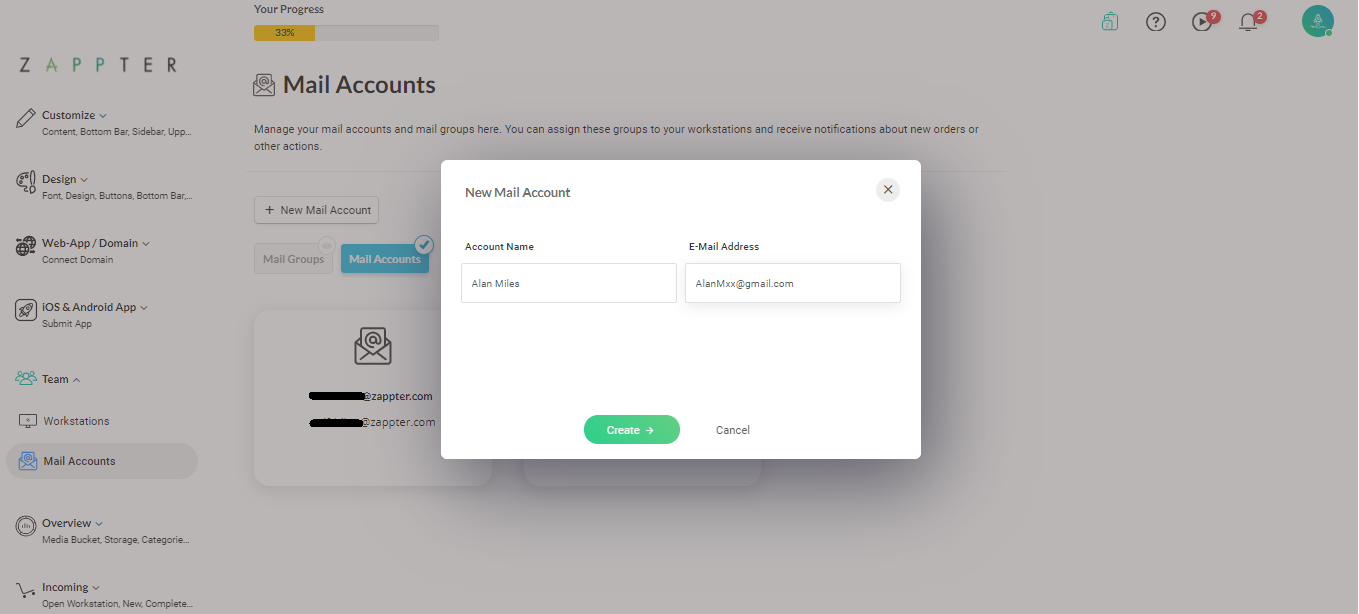
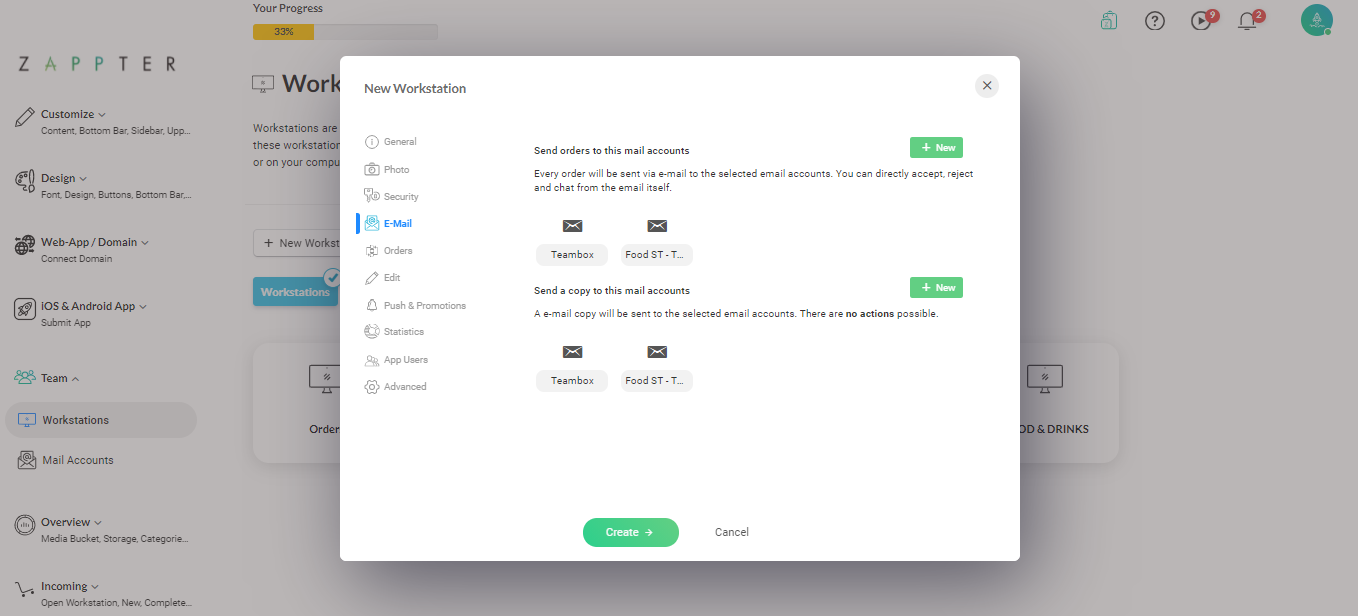
Whenever a workstation receives an order, booking, request, or a chat, it also sends a mail to assigned email addresses or addresses. As it helps your operation not to miss any event, you should always assign mail account or accounts to a workstation. 

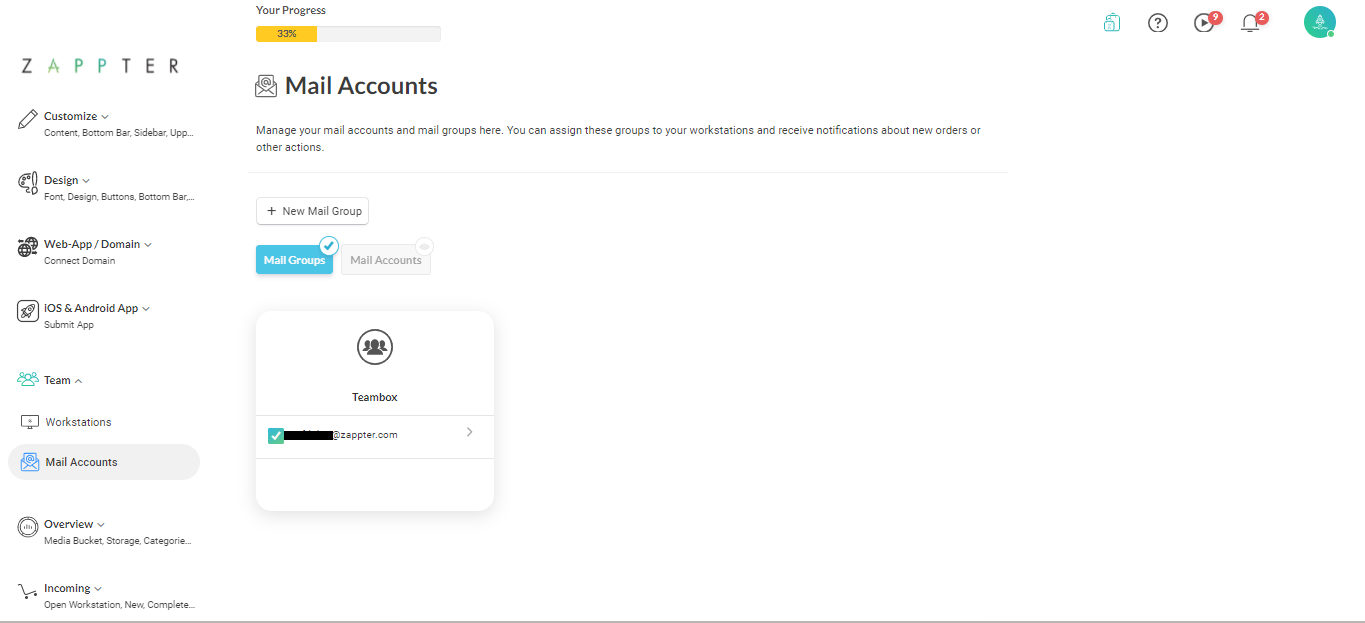
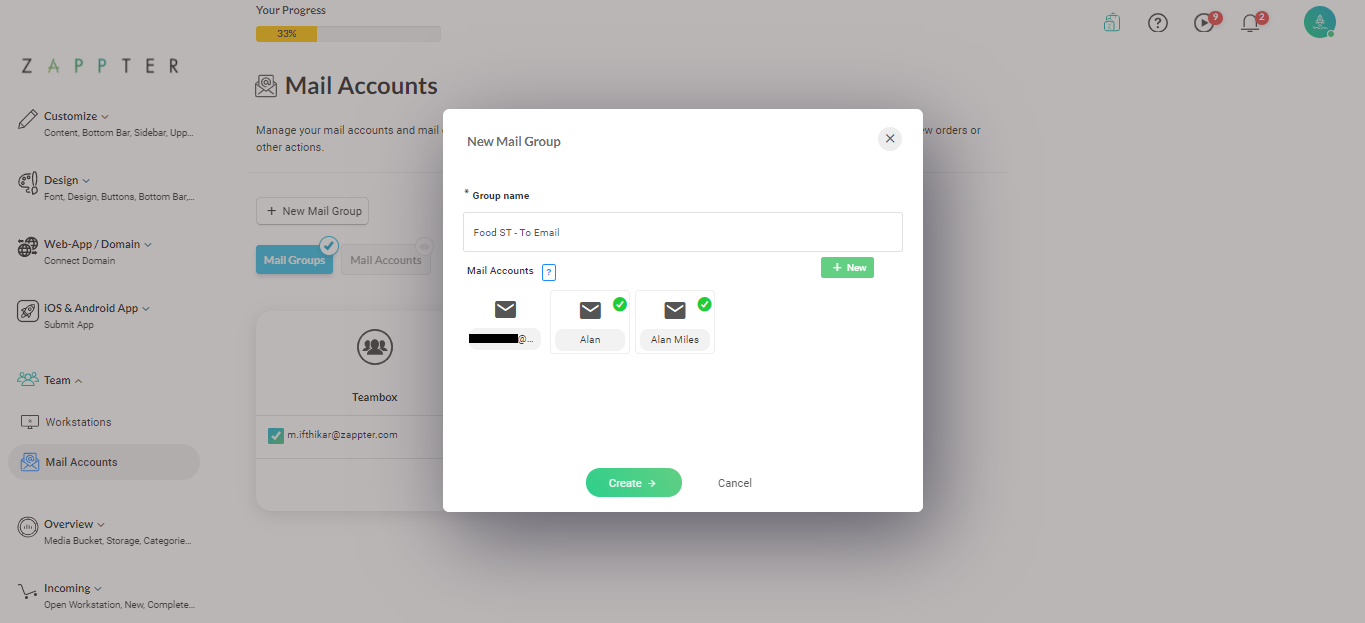
Workstations in Zappter can send emails and copy-to (CC) to the assigned email accounts. You create an email group and put in the individual email addresses into it. The workstation sends the emails to all of the email addresses inside the email group. You create two such groups and assign one for 'TO' and the other for 'CC.' Or you can also use the same group for 'CC.'
The 'Teambox' is default mail group created by Zappter. And, it has assigned the admin login email by default.

Creating a mail account

Follow the steps to create an email user account.
1. Admin > Team > Mail Accounts. Then select the 'Mail Accounts' on content side. 
image.png 71.31 KB
2. Click on '+ New Mail Account' button. 
image.png 124.77 KB
3. Enter recipient's name and the email address. And, finally click on the 'Create' to complete creating an email account in Zappter.

Creating a mail group

Follow the steps to create an email user group.
1. Admin > Team > Mail Accounts. Then click on the 'Mail Group.'
image.png 67.21 KB
2. Click on '+ New Mail Group' button to create a new mail group.
All available mail account show up, including the one created earlier in the tutorial.
image.png 123.45 KB
Note: the '+ New' button will allow you to create a new mail account just discussed above, without leaving this screen.
3. Enter a group name and select mail accounts that will be assign to this mail group. And, finally click on the 'Create' to complete creating the mail group in Zappter. 

Linking email groups to a workstation

In the above sections you created the mail account and a mail group. And then you assigned the mail account to the group. The final crucial task is to link the group to a workstation.
1. Admin > Team > Workstations. Click to select a workstation where you want to assign the mail group.
image.png 84.37 KB
2. Click on the ‘Edit.’ 
3. Move to ‘E-Mail’ tab. Notice that upper section belongs to ‘Send to’ emailing and lower section is for ‘Copy to’ emailing. 
image.png 135.51 KB
4. Note that newly created email group appears for both sections, ‘Mail to’ and ‘Copy to’. Click on the email group or groups (upper for ‘send to’ and lower for ‘copy to’) to tick, meaning, the email group is now assigned to this workstation.
If you want to 'send to' tick the group in upper section. To assign to 'copy to' tick the group in lower section.
5. Click on 'Create' to complete assigning the mail group to the workstation.
Last updated at 11.07.2022 13:29